
Collecting Seeds
It has been our experience that many people, even within plant growing circles, have little or no knowledge of how to properly collect seeds, and many surprisingly are not even aware that you must wait for seed or pods to be ripe, before you collect them. If you are one of those who are not familiar with how to collect seeds, then this page will be helpful to you.
Whether you are a gardener, or want to collect some wildflower seeds, there are several reasons why collecting seeds can be important
- No matter where you might live, you are subject to periodic drought, flood, harsh winter, or perhaps all three! If something in the wild, or in your garden dies, without having seeds, you will have no way to propagate new ones, without somehow obtaining it again. (Think of it like backing up your computer files.)
- You might change your residence, and not be able to take the plants you want with you, for whatever reason; if you have a collection of seeds, you can likely start most of the same new plants at your new home.
- If you have excess seed, you can trade with other garden enthusiasts to increase your collection of plants.
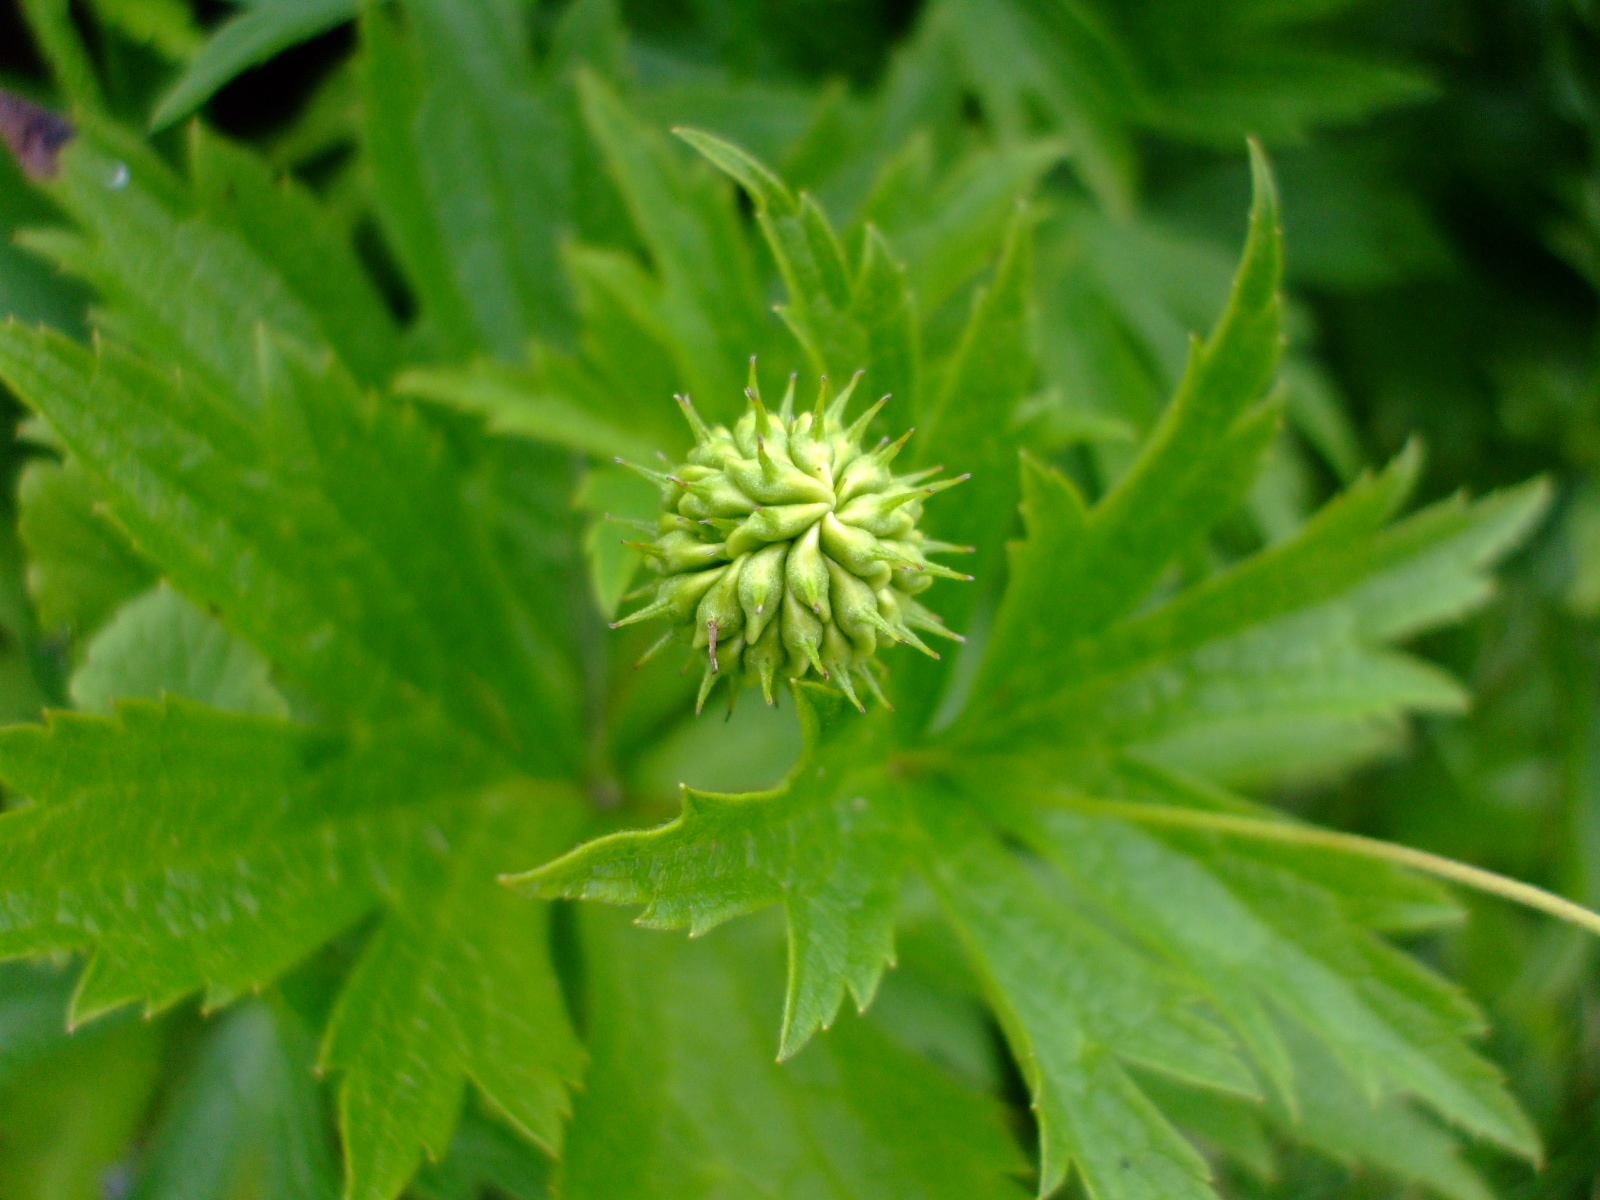
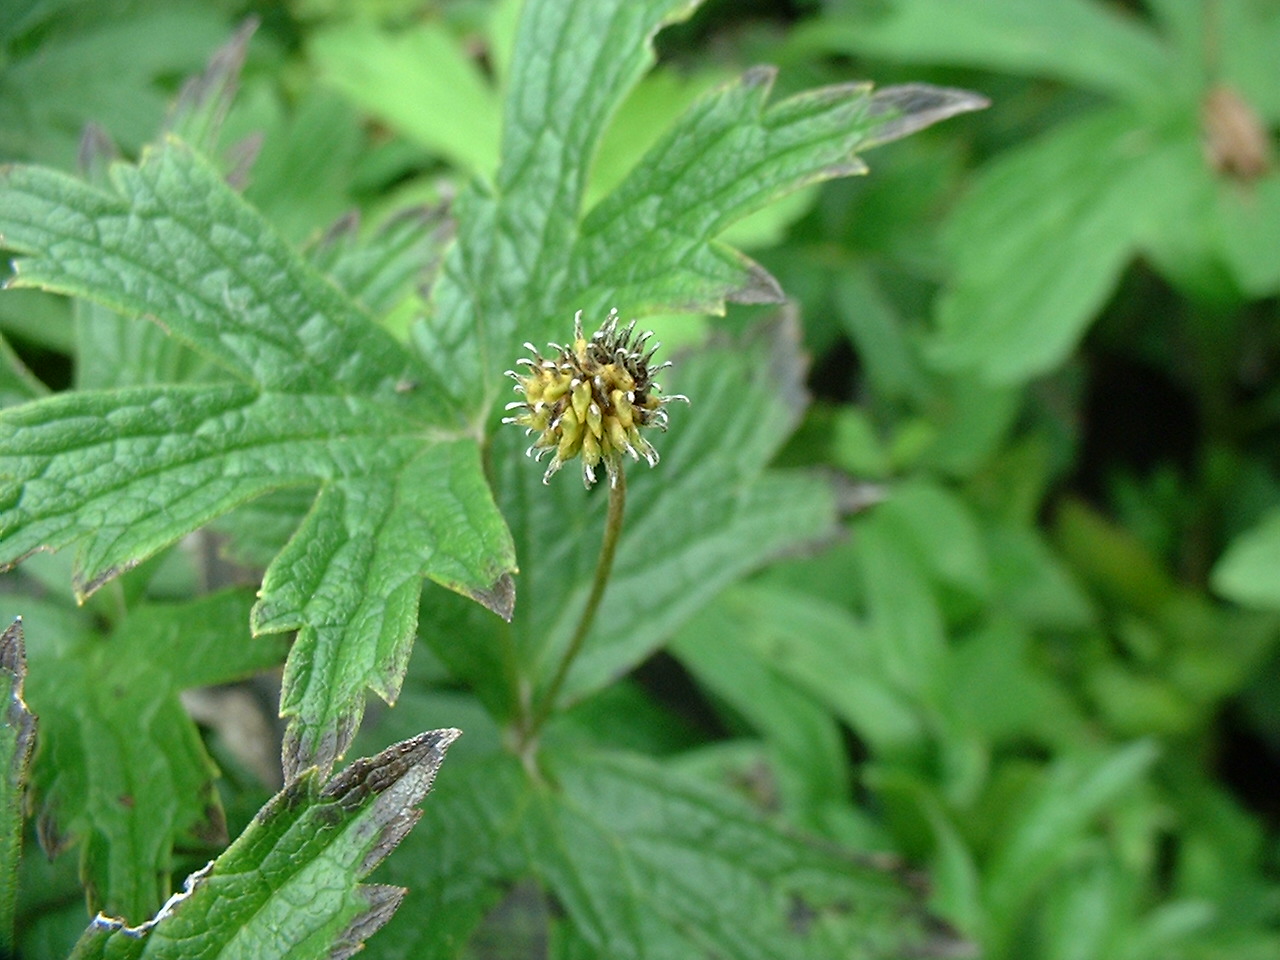
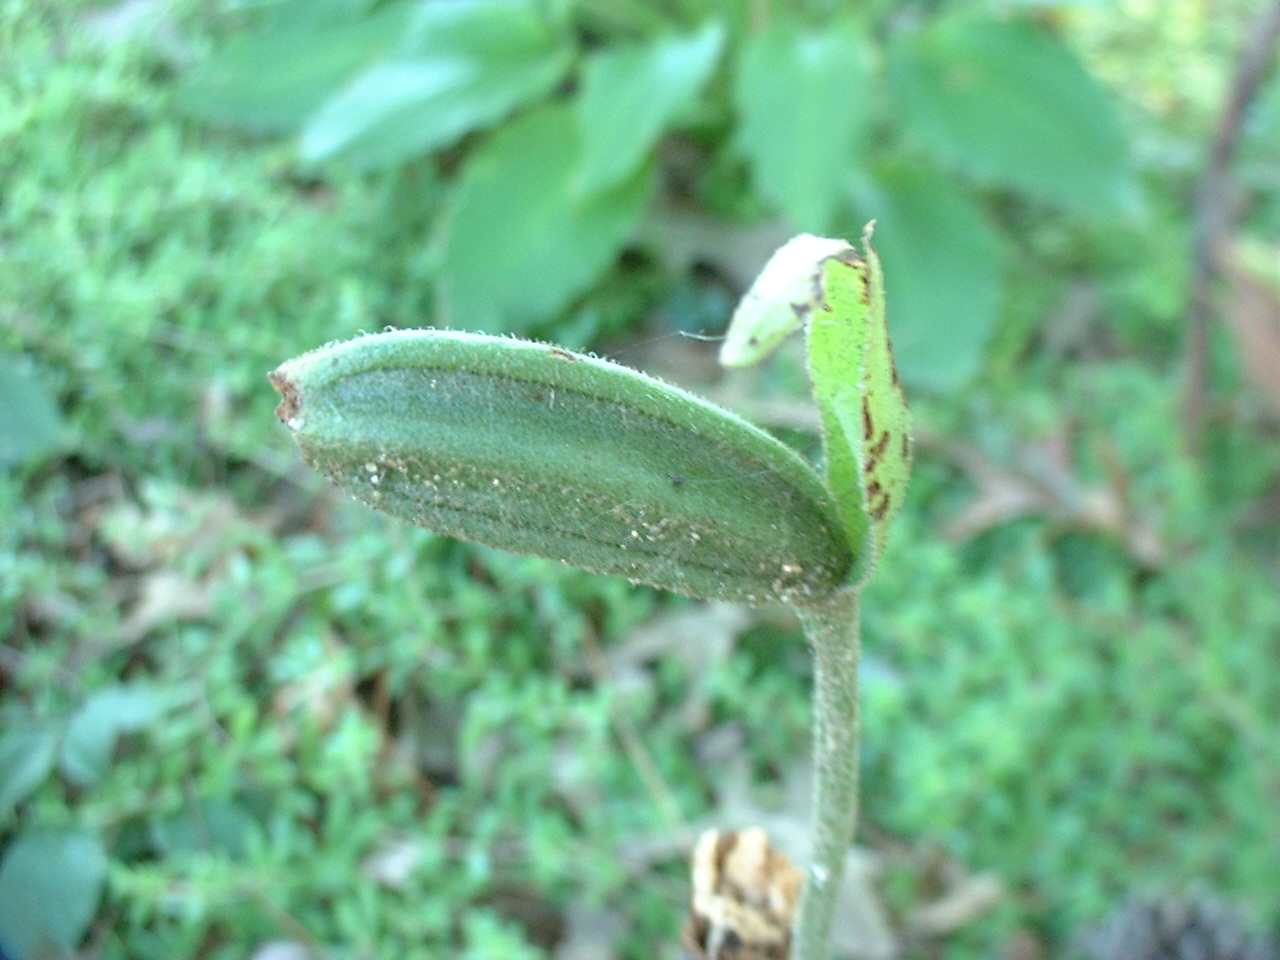
Seeds come in many different shapes and sizes, but most have similar structures, and end up with the same result: a seed, or seeds. There are a few peculiar plants out there that do not produce any seeds, but generally speaking most produce seeds in one way or another. Seeds are usually either formed in berries, pods, or simply as the center of the flower left after it is done blooming, often referred to as a "seed head." Berries can come in many colors, including red, blue, white, black, yellow and orange, but in most species, before they become ripe, the berries are green. Likewise seedpods can be simple or ornate, spiny or smooth, small or large, but again, usually if they are green, it is a sign that the seeds inside are not yet ripe. In addition, a berry or seed pod can contain many seeds, or just one. The seedpods of most native orchids, like Cypripedium reginae (Showy Lady's Slipper) for example, have thousands of minute seeds, but the berries of Maianthemum racemosum (False Solomon's Seal) contain only one seed per berry. Even still, the berries of other species, like Gaultheria procumbens (Teaberry) contain 50+ seeds per berry. There really are many shapes and forms of seeds.
In contrast with certain edible fruits, like bananas, most wildflower seedpods will NOT ripen with age, if picked while green, so it is important to wait until seeds are ripe, or the seeds you collect will not be any good.
There are a few plants with more exciting types of seedpods, like those that explode when ripe, such as Impatiens capensis (Spotted Touch-Me-Not) and the pods that fall off when ripe, only to have the seeds carried away by ants, as happens with most Trillium species. Because there are so many types of seedpods and seeds, it is important to know what plant you're dealing with so you know best how to collect its seeds.
The following pictures show several species' seedpods, to help compare the ripe and unripe forms:
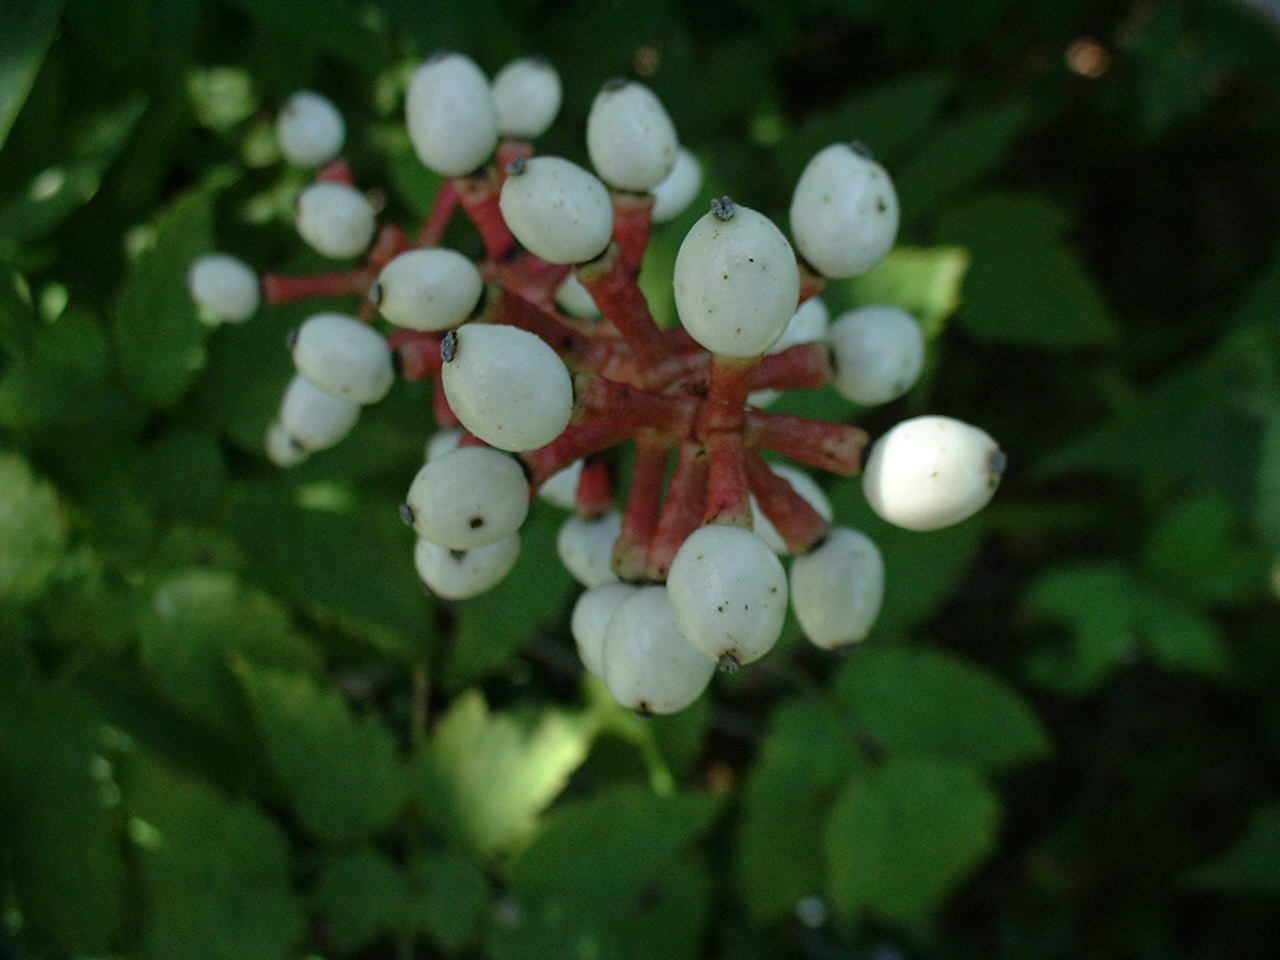
Actaea pachypoda, L: unripe, small developing berries; R: ripe, white berries, ready to fall from their stems if handled.
Anemone canadensis, L: unripe, green seedhead; R: nearly ripe seedhead, seeds will fall off if handled.

Aquilegia canadensis, L: unripe, developing seedpod, unopened; R: past ripe seedpod, opened, and seeds already fallen out.
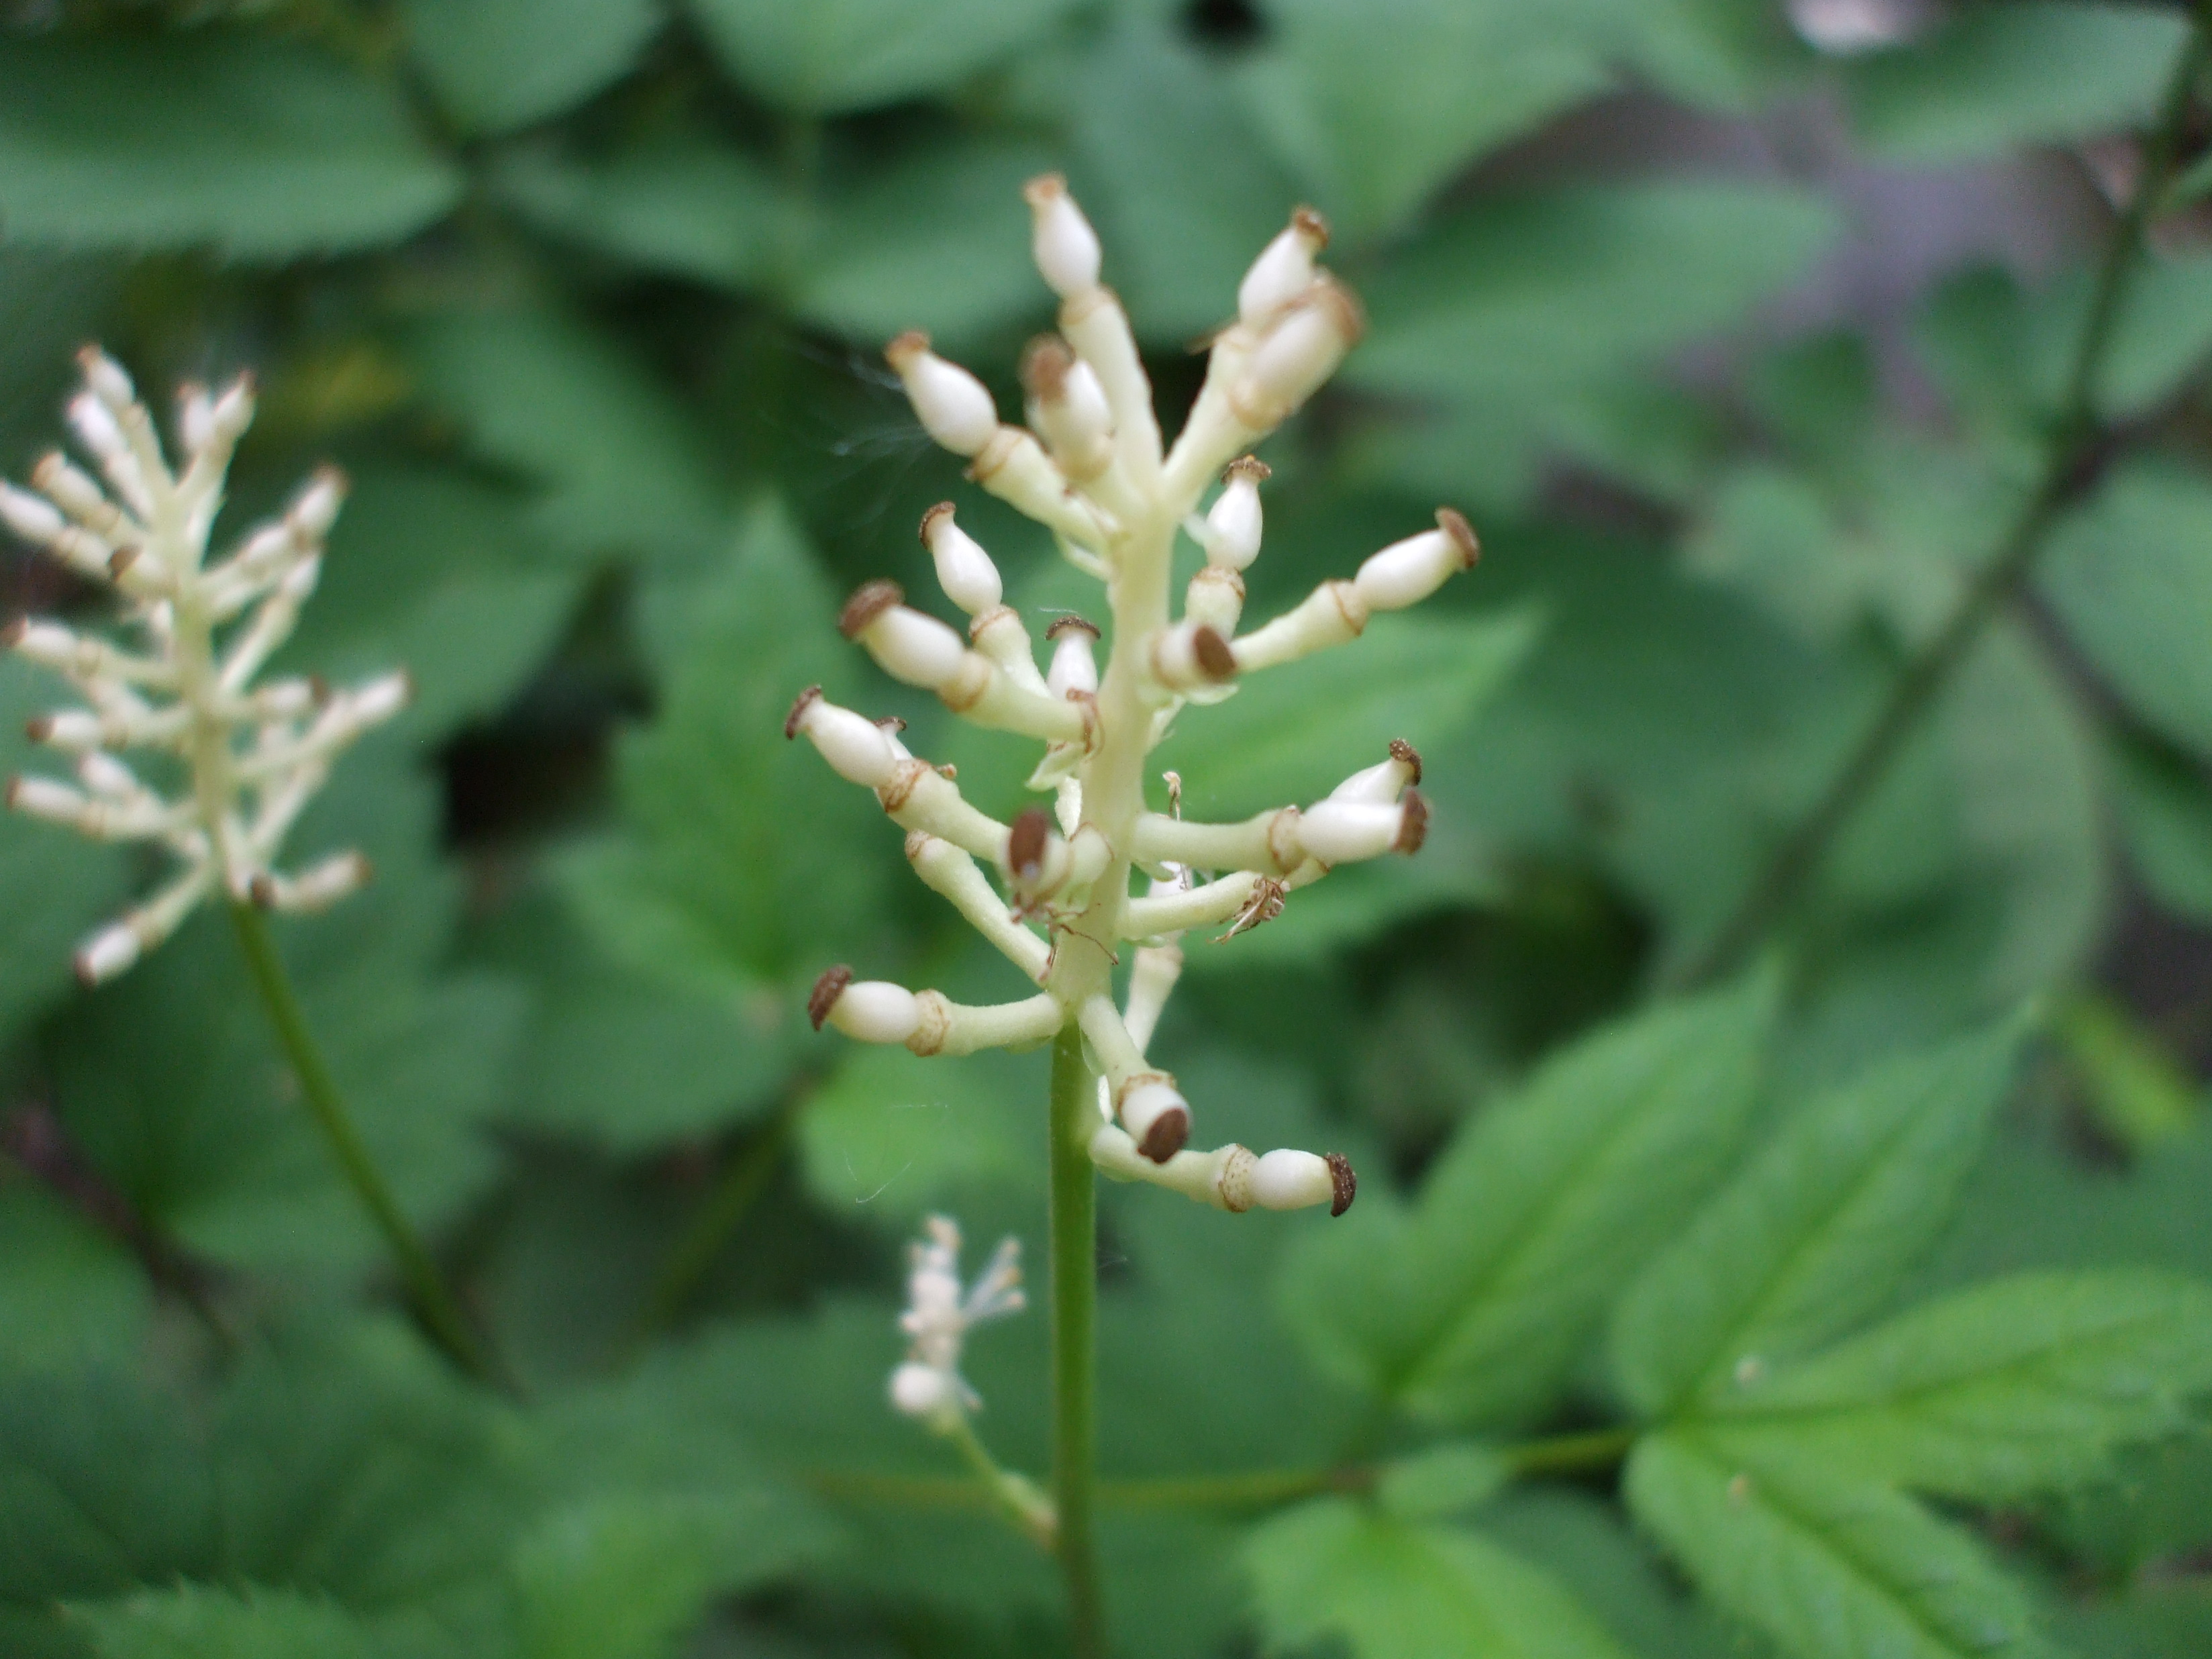
Cypripedium acaule, L: unripe seedpod, developing; R: ripe, seedpod; thousands of tiny seeds are inside.
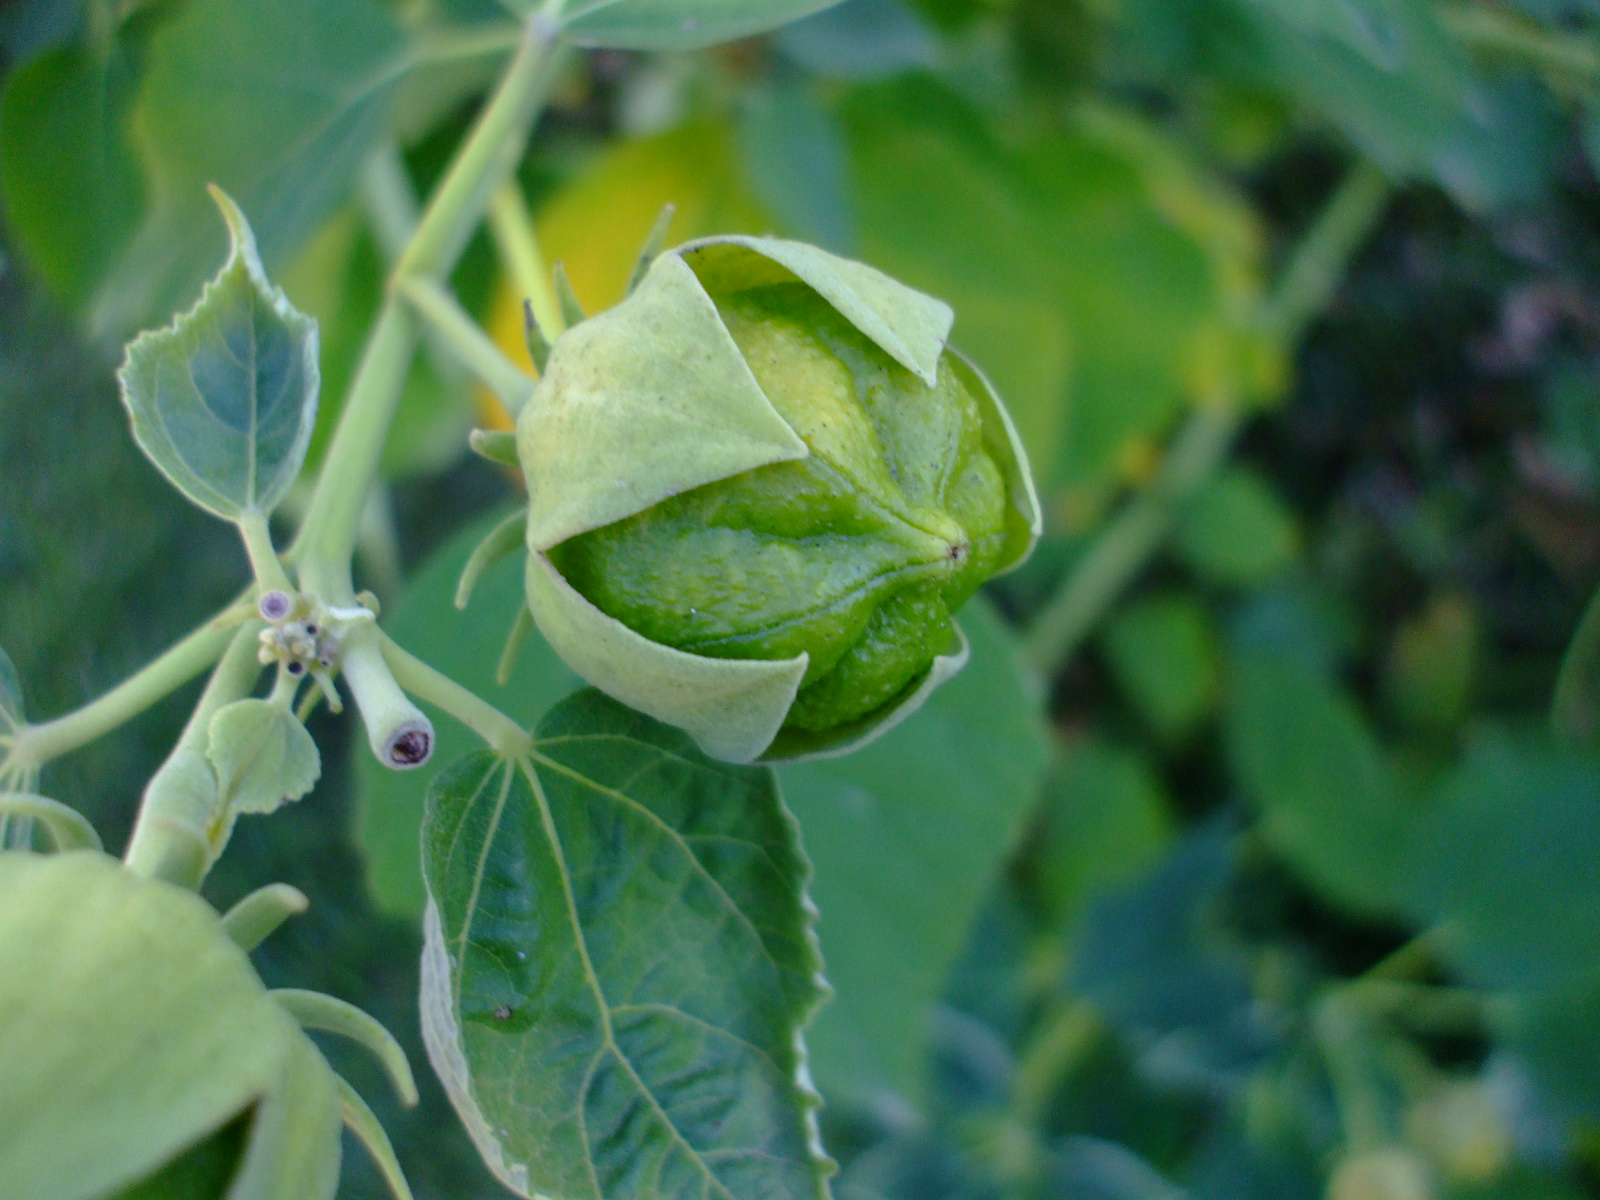
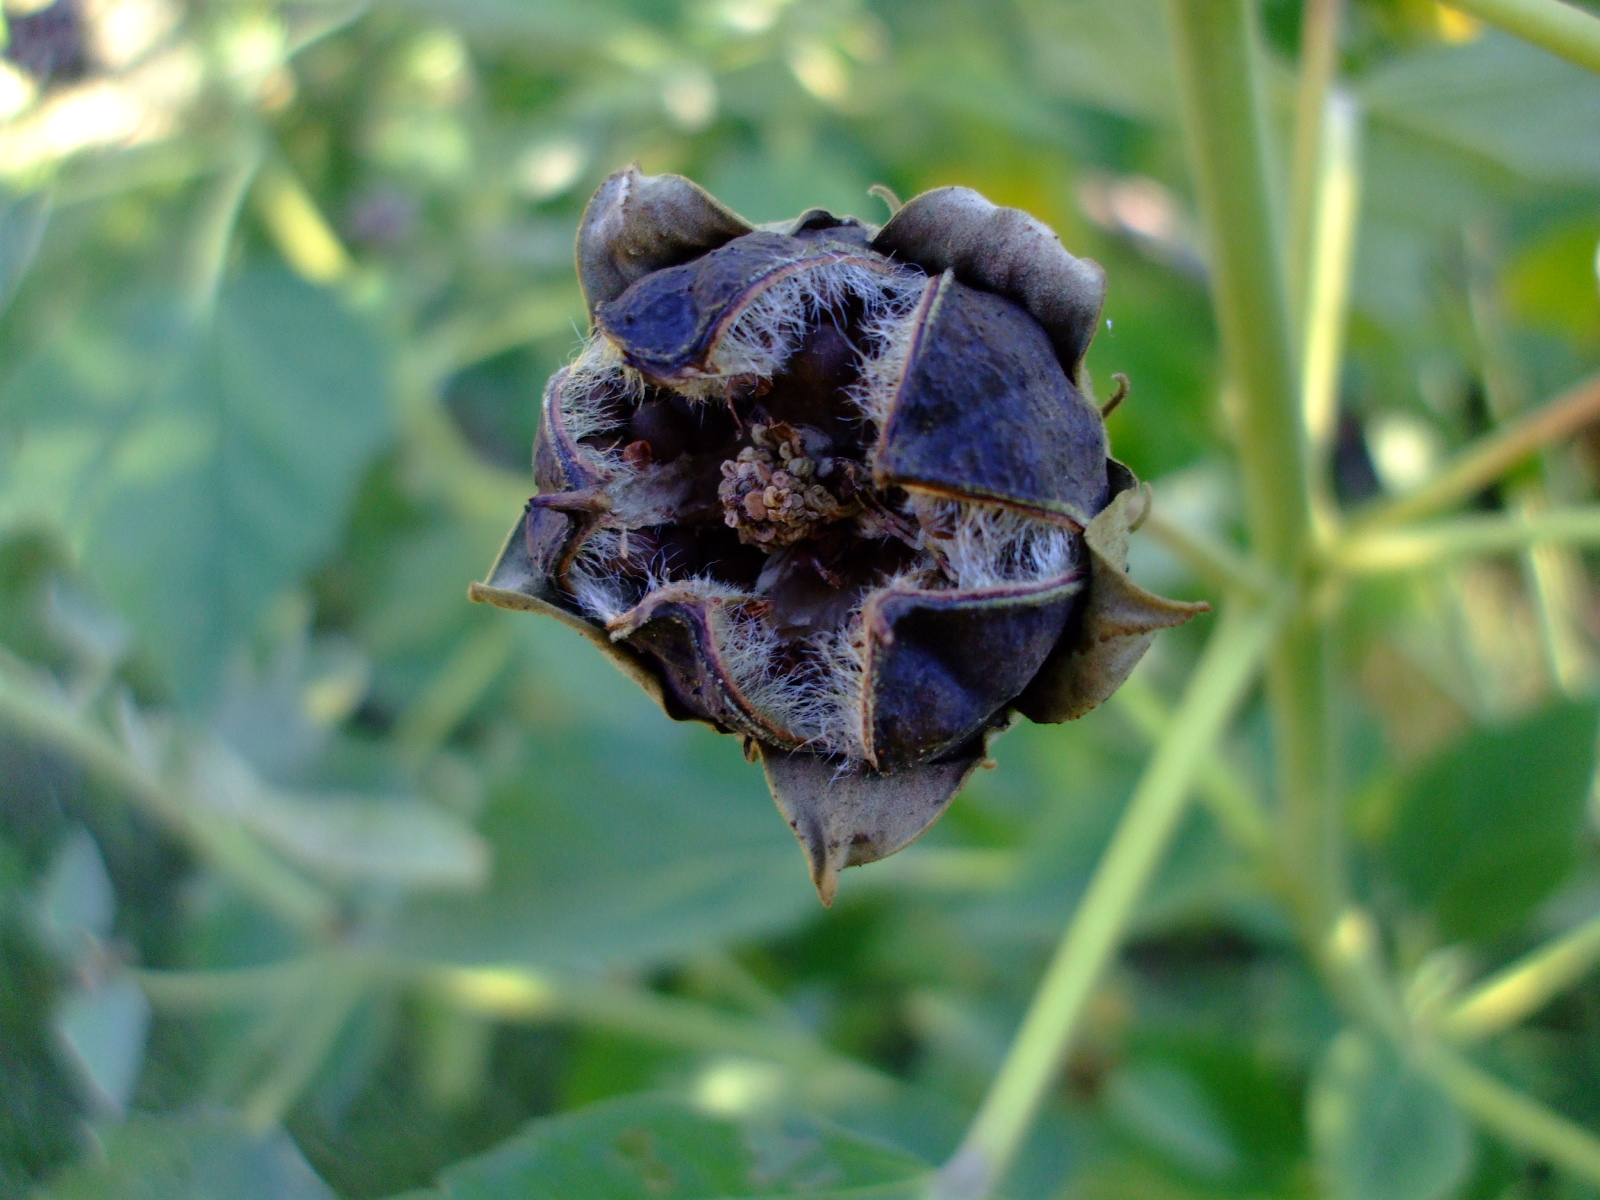
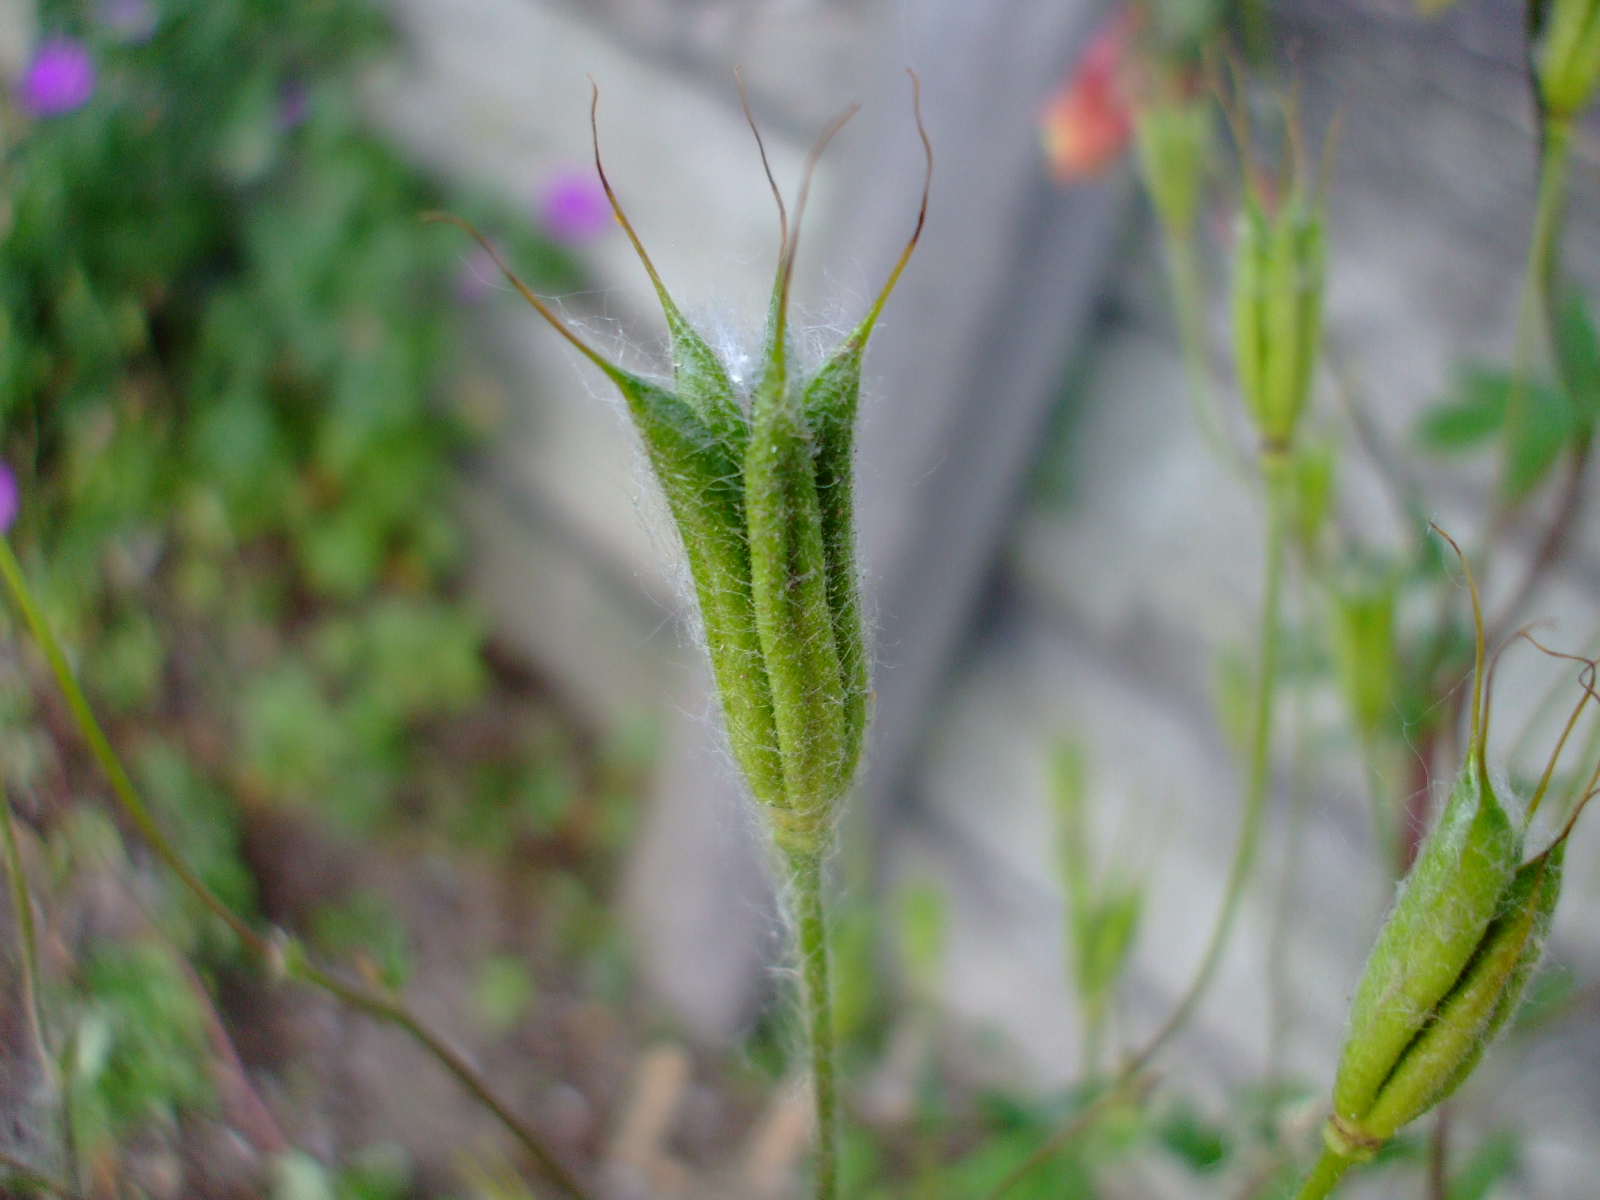
Hibiscus palustris, L: unripe pod, developing and unopened; R: ripe pod, open, with seeds exposed.
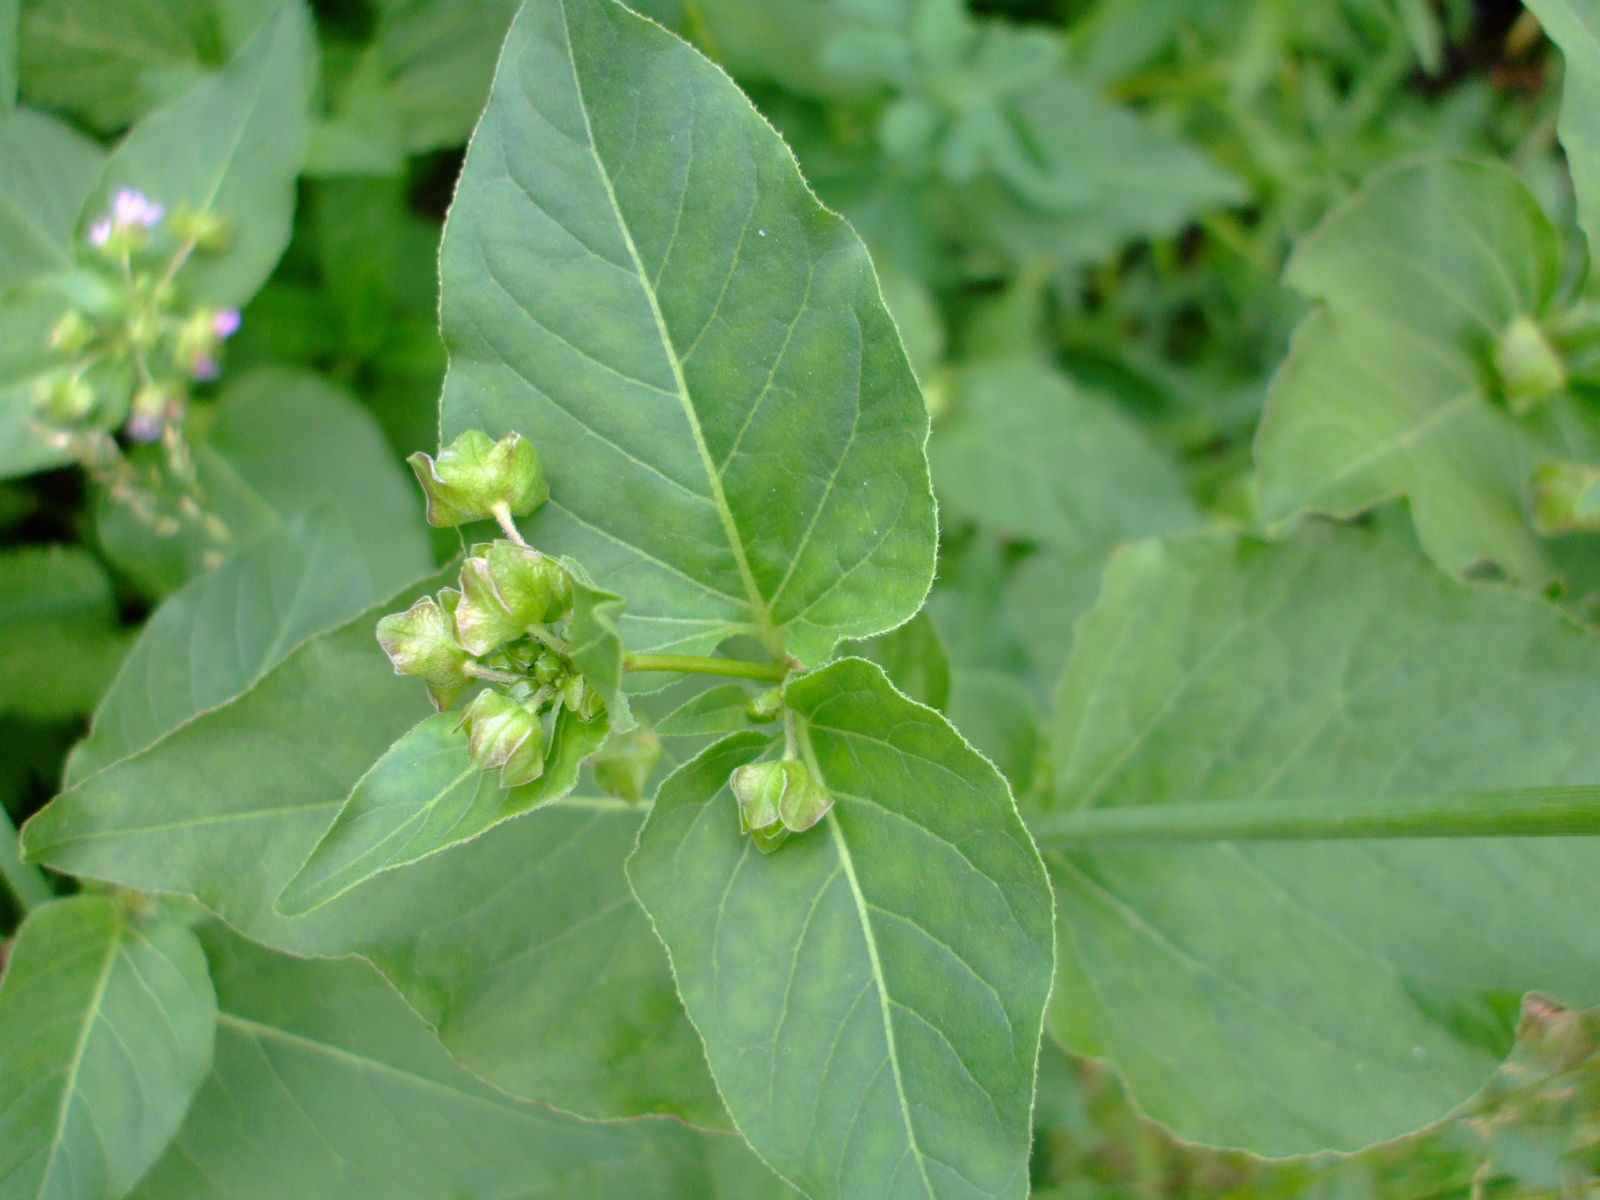
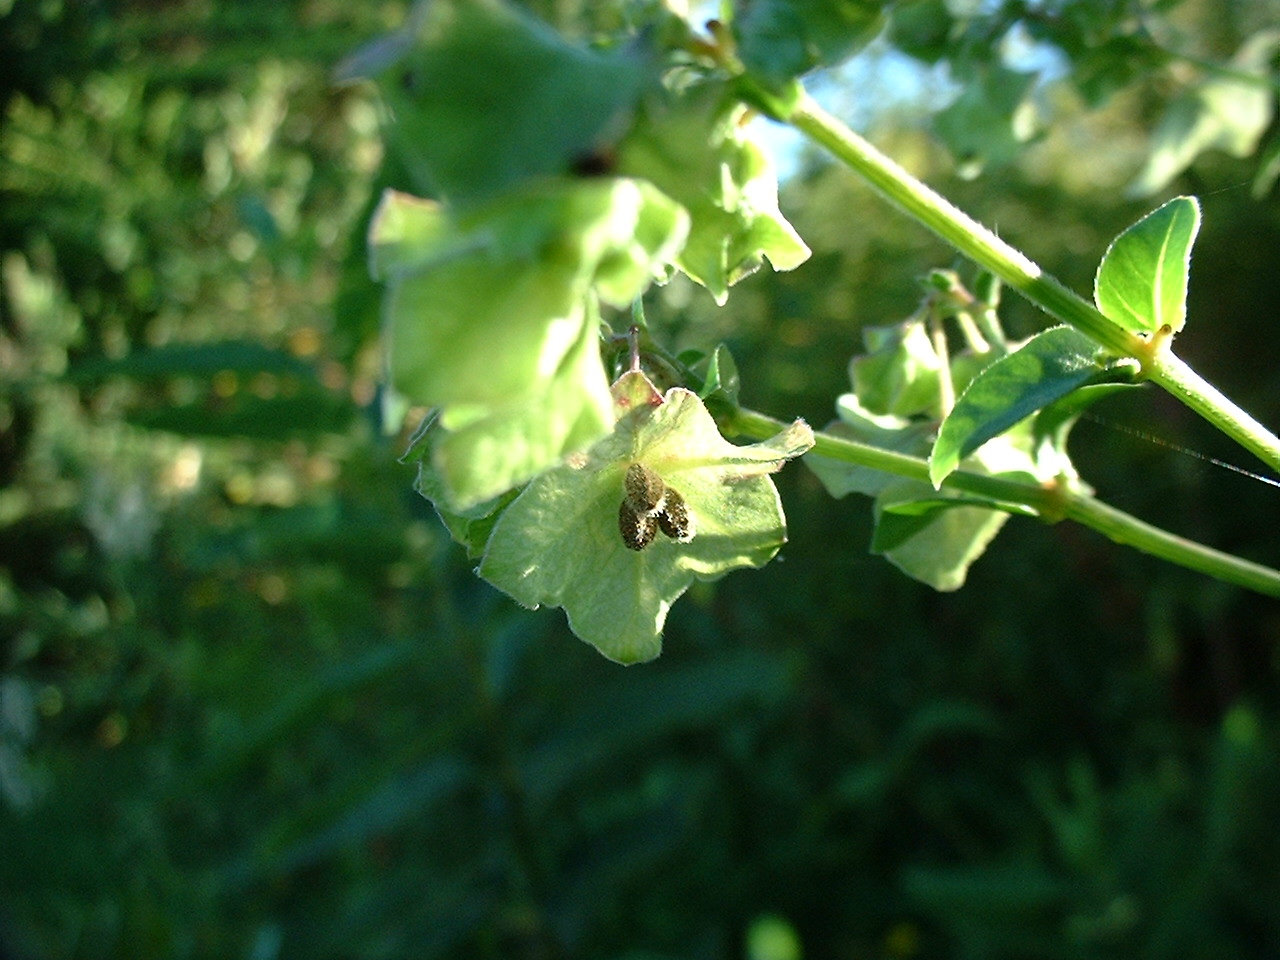
Mirabilis nyctaginea, L: unripe, developing in seed sheath; R: ripe, with seed sheath open, exposing ripe seed.
Collecting
Most plants produce seeds that are relatively easy to collect. Thus, in most
cases, it is simply a matter of waiting for berries or seedpods/seed heads to
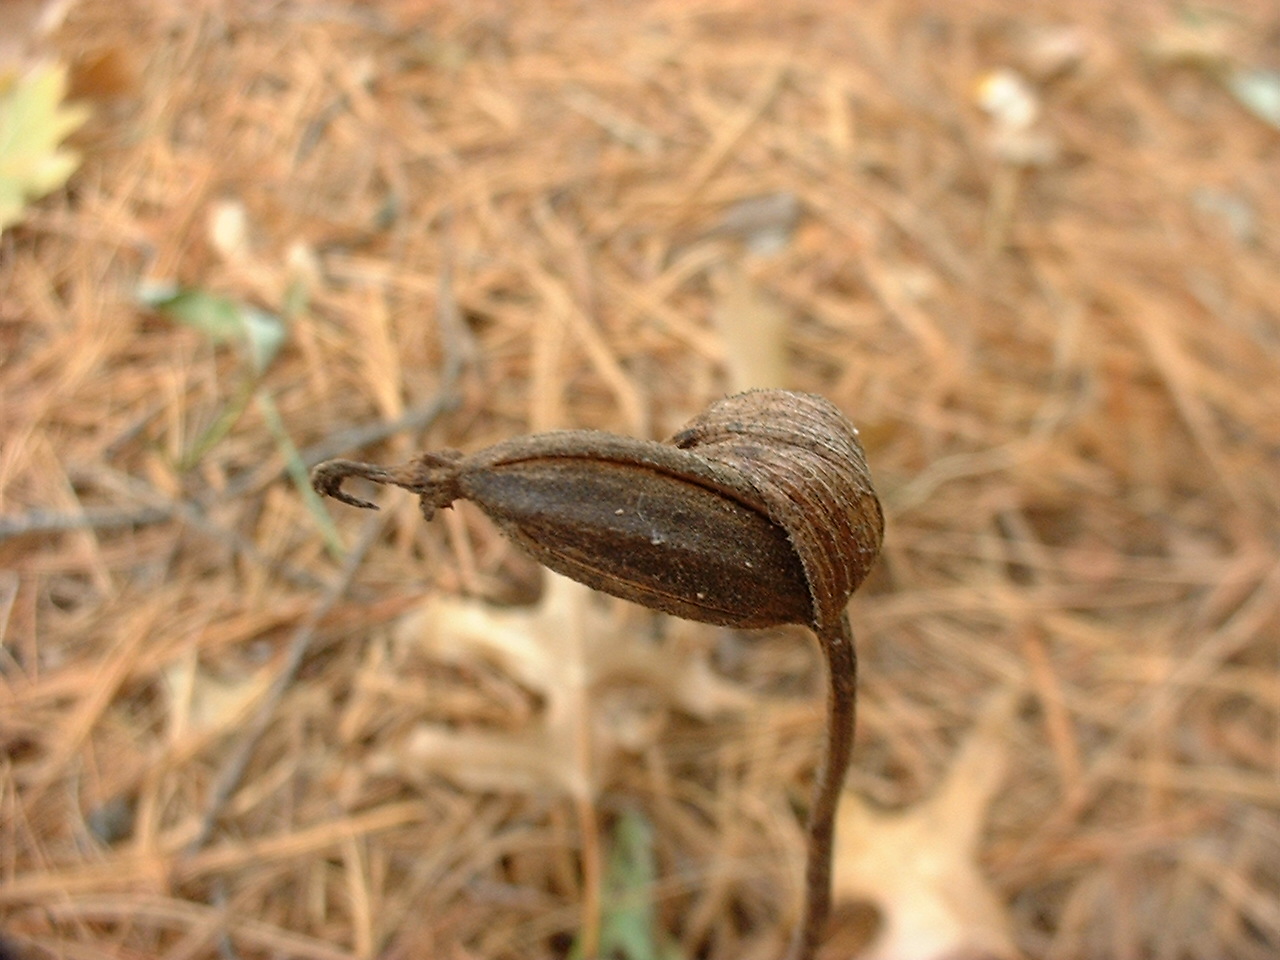
ripen, and then picking them. As a general rule, as mentioned, the pods or seed heads are usually brown, or if berries, they are a color other than green. Many seedpods will crack open when fully ripe, and seed will begin to spill out, so collect promptly. Likewise, many berries will fall off when touched, if they are ripe. Conversely, they will usually not fall off, if they are not ripe, so this can be
used as a test for ripeness, and seedpods can be gently handled to see if they
will pop, or crack. However, some seedpods do resist cracking, even if they
are perfectly ripe; in such cases, use the color test instead.
So, for most seedpods and berries, simply watch the pods every day, or couple days, and collect the pods when they turn brown (or for berries, whatever color they turn when ripe).
However, if you do not have immediate access to the seeds you want to collect, you may want to consider another option, as some seedpods like to quickly pop open when seeds are ripe, and seeds often fall out of their pods when they become ripe. If unable to watch the pods very closely every day, and collect when ready, if needed, a small netting can be put around a seedpod or berries, and closed with string or a twister seal, so that when the pod opens, the seeds fall into it, and are caught by the netting; the netting and seeds can then be collected at a later date (though, keep in mind, it should be collected fairly soon after the pod opens, because rain has the potential to ruin the seeds, if the netting falls to the ground and becomes buried in the dirt.)

Hepatica acutiloba, with seed head netted for later collection.
This netting method works well with several types of plants whose seeds seem to make collection difficult. As mentioned, for example, Trillium species produce seedpods that fall off when ripe, and the individual seeds have a sticky substance on them, known as elaiosomes, that attracts ants which will carry away the seeds in short order; however, if there is netting around the pod, the ants won't be able to carry the seeds away. Also, some plants, especially spring ephemerals, disappear entirely for the year shortly after blooming; they produce seedpods that quickly develop and drop seeds and also disappear. The netting method works very well for these plants - though, the netting must be collected quickly with these ephemerals, since the plant entirely disappears, the netting can be blown away by the wind, once no stem remains to hold it in place.
Finally, as mentioned earlier, a few seedpods literally explode when touched, expelling the seeds in all directions. Usually plants that do this produce many pods, so experimenting with collecting is possible. In order to collect this type of seed, netting will work, or simply grabbing the pod quickly with your whole hand, so that it will explode in your hand, instead of dispersing the seeds.
One other important note, is that while netting does work well for most seeds, pay attention to the size of netting used. In some cases, a smaller mesh, such as a cut pair of pantyhose, tied at both ends works well for species like Cardamine diphylla (Cutleaf Toothwort) and Epigaea repens (Mayflower), whose seeds are very small, but not so small that they will escape a tight mesh like pantyhose. Some plants (noteably orchid species) produce incredibly tiny seeds that will not be easily contained by any netting. In these cases, it is usually prudent to watch the pods as often as possible and collect when ready.
If you can help it, try not to collect seeds right after a rain, whether in netting or not, as they will require extra drying, but if it cannot be avoided, be sure to set the seeds in a dry, open place so they do not get moldy.
If you are new to collecting seeds, you won't know immediately which seeds are small, and how they produce them - but if you pay close attention, you can experiment and you will be an expert before long!
What To Do Once You Have the Seeds
After collecting seeds, they must be dried properly. Do not store seeds in an enclosed plastic bag, or something that does not ventilate - if seeds, or seedpods are stored in such a way, they will very likely become moldy and ruin the seeds. Usually, if kept in a dry bag (like a paper lunch bag), they should be ok. Seeds should be kept in an area to dry (wrapped lightly in a kleenex or papertowel usually works well) for anywhere from a few days to a few weeks or longer to ensure that they are dry - even if they look or feel dry at the start. Some seeds need only a day ro two to dry, but other seeds - like grapes, for example - take two months or more to dry. After the seeds are certainly dry, then they can be stored in plastic or paper envelopes, or some other suitable container. Some seeds have a very short shelf-life and others will last years; as with seedpods, each species' shelf-life is different. In most cases, however, freezing seeds or storing them in the fridge will prolong the life of the seeds.
We hope this guide helps you to better collect seeds in the field. As always, if you have any questions or comments, please visit our contact page, and send us a message. We are always happy to hear from you!
Click here to see a list of all plants on our site, A - Z:
A to Z